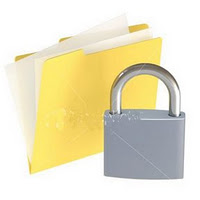
You can restrict access to a hard drive in Windows 7 for other user accounts in the same computer. This is useful if you have files on a hard drive that you do not want anyone else to access. Only specified user or Administrator will be able to access these. You can also change other settings, such as only allowing a user to view a file and not change it.
Steps to Follow :
-
Log on to your computer with an account with Administrator rights. Click “Start,” type “user” (without quotes) in the automatically selected “Search programs and files” search box and click “User Accounts.” Click “Manage another account.”

- Click “Create a new account,” if you need to create a user account for other people that will be using the computer. If you already have another account set up, go to the next step. You need to have at least your user account and another one set up to restrict access to a drive. Type a name for the user and click “Create Account.”

- Click “Start” and “Computer.” Right-click the name of the hard drive you want to restrict access to. Click “Properties.”
- Click the “Security tab” in the “Properties” window that opened. Click “Edit…” and “Add…” in the “Select Users or Groups” window that opened.

- Type the name of the other user account on your computer or you can click “Advanced” and then “Find Now”, then select your user account. Click “OK.” Uncheck the boxes to the left of any options that you do not want the user to have available. Check the “Deny” box for “Full control” to disable all control from the user for files on the hard drive.

- Click “OK,” “Yes” and “OK.” Close any open windows. Click “Start,” log off of your account and log on as the other user to test your settings.
- Click “Start,” “Computer” and double-click the name of the hard drive you restricted access to. A window indicating that “Access is denied” is shown. Close the window and log off the computer.
And you are done.