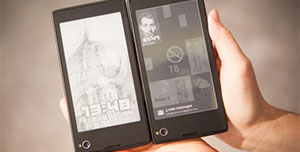
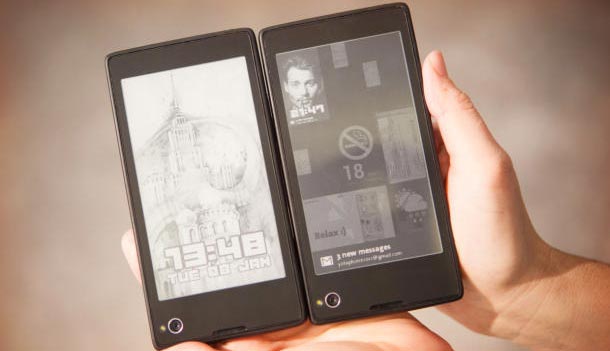
- On the left, a regular Android 4.1 display. On the right, a power-saving e-ink screen. (Credit: James Martin/CNET)
To borrow from a popular meme, the Russians are doing it right as far as the YotaPhone is concerned. It’s a dual-display smartphone with a very interesting twist. Sporting a 4.3 inch 720p LCD display on one side of its face, the YotaPhone has an e-ink display of the same dimension on its backside. The idea is to read on the e-ink display and watch videos and movies on the crisper LCD screen. Why? It’s all about battery savings. E-ink conserves more resources than color HD displays, so if you’re just reading a long article or a book, use the low-power e-ink side. Innards are pretty sweet as well with a quad-core Qualcomm Snapdragon s4 chip , 2GB of RAM, NFC, 4G LTE connectivity, a 12-megapixel camera, and it’ll come with either 32GB or 64GB storage space with Android Jelly Bean support.
There are two ways to get content onto the back display. The first is to simply mirror what’s on the screen by swiping down with a two-fingered gesture. That will give you a static image of a map, for instance, or a shopping list.
The second way to program YotaPhone’s e-ink display is to use apps built for that specific purpose. Yota starts out with a few, like an RSS reader, an alarm clock, and Twitter, but plans to open up the SDK so developers can create their own compatible software. Transferring data with these apps was seamless over a strong Wi-Fi connection, just by tapping an onscreen control.
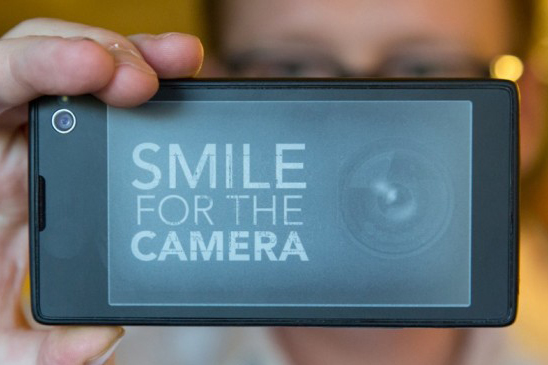
A series of specially made apps enable you to put your own messages on the screen, or it can show your Twitter feed, news or at its most helpful – SMS messages, missed calls, the weather, time and location data. E Ink screens are more commonly found on e-readers like the Kindle, and as you’d expect, e-books can be read on the YotaPhone’s second screen. Because it’s E Ink, the YotaPhone’s rear screen can be read in direct sunlight, making it easier to see important information quickly.
Yota has been working on the technology in partnership with E Ink for two years and is just now producing its first “working” prototypes. The phone is pretty large; it’s almost exactly the same width and thickness as Nokia’s chunky Lumia 820, but doesn’t hide its heft as well. It’s also pretty tall, thanks largely to a gesture area beneath both of its displays. It’s at this point that things get a little tricky, because the rear screen isn’t entirely touch sensitive. Only the bottom part of the rear panel is capacitive, and currently not all apps will respond to gestures in that area. That means you wouldn’t currently be able to flip the page in a Kindle book, for example, or a click on a tune in a Spotify playlist. But the Yota guys say they’ve had a lot of feedback on this and other points and are already working on solutions — and we’re totally ready to believe them.
I’m also still a little dubious about the convenience of flipping the phone over at intervals to use first one side and then another — even though one use case is to use the e-ink side when you’re on the phone’s final battery legs. For me, at least, chargers are nearby, I become loathe to switch up what I’m doing, and I can’t see myself wanting to leave the comforts of a rich, colorful screen to gaze upon an image that reminds me of an old, faded newspaper.
So where does Yota go from here? The company says it’s in talks with carriers worldwide, but wouldn’t reveal any specifics. It’s aiming to release the phone in June / July this year in its native Russia, but an international launch isn’t likely until Q4. Start saving as this phone/reader’s retail availability will begin in a couple of months.